
Do you feel that asteroids in X-Wing are too two dimensional?
Do you keep K-Turning X-Wings on asteroids?
Then this tutorial is for you:
Attack of the Sponge Asteroids!

I've been wanting to make 3D asteroids for a while now and I finally took the time to do it using Jokerounet tutorial on sw-xwing.com
The asteroids had to be playable in a tournament, thus the shapes had to be the official shapes, the rocks had to be removable to place models on top of the asteroids and finally either faces had to be usable.
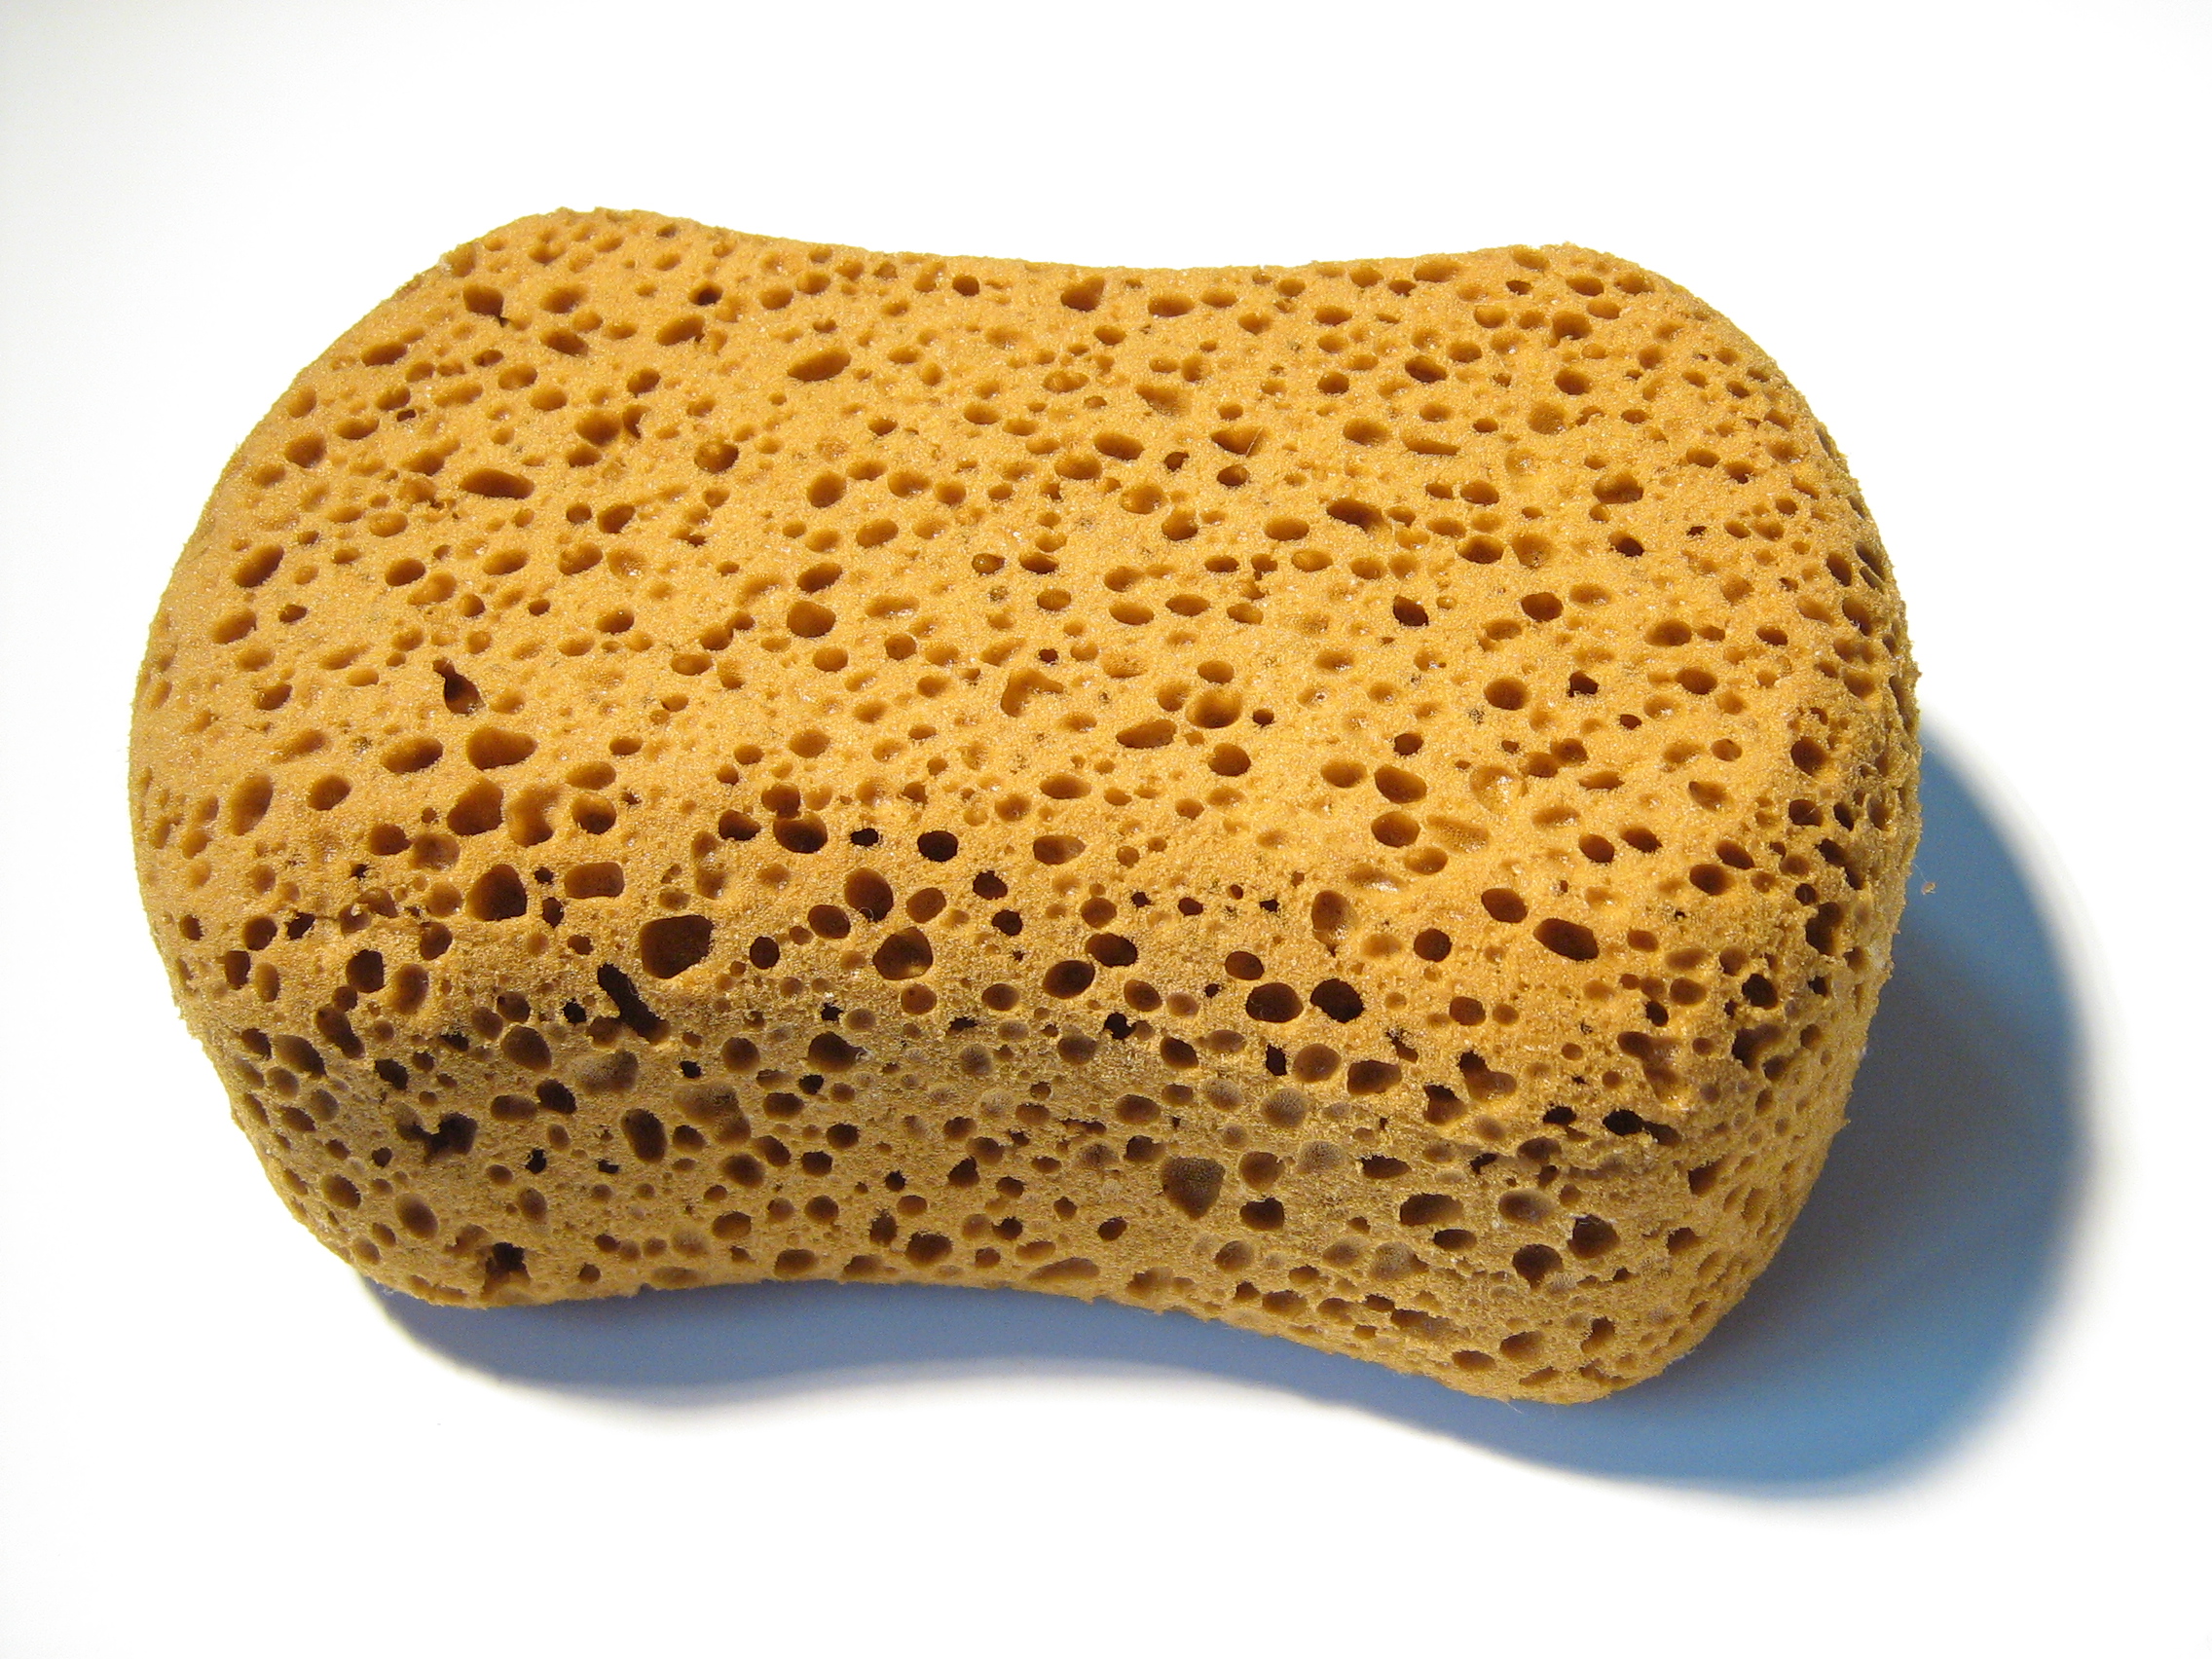
Here's what you need:
- One large or several smaller sponges:
- 6, 5*2mm magnets
- the cardboard asteroids from the starter box
- 3mm rod (I used aluminium knitting needles)
First start by drilling a 5mm hole in the center of all cardboard asteroids and glue a magnet inside.
Then drill a 3mm hole in your coins and glue a length of rod on one side. I went with various lengths between 4 and 6 cm to increase the visual impact.

Next comes the fun part: take your sponge apart, tearing large chunks about 5cm on a side and glue those on top of the rods opposite of the coin. If your using small sponges you can bulk your asteroids as I did by gluing several chunks to a rod spaced by pins or more rods. After gluing coat everything with a generous sprayed undercoat:

I said coat everything! We're going to need that undercoat for the next step.

Take out the airbrush, load with thinned white and spray the asteroids randomly.

Now you can either stop here, with pretty nice asteroids on black bases, or, once more inspired by Rodent Master, you can go the extra mile.
To achieve the radar display look, paint in white a couple of concentric circles by rotating the the base around the magnet. Then paint the 8 intersecting lines. Go back with a black brush to correct your mistakes.
Using masking tape, mask part of the asteroid in order to draw a line between the center and the edge. Mask the center of the asteroid to get something like this:
 |
| Afterthought picture using a finished base to reproduce the masking pattern. |
Spray white paint starting at the mask and fading going counter-clockwise, so that the white is brighter close to the mask and fades to the black undercoat on the opposite side.
Finish by tinting the grey/white of the asteroids with your ink of choice.

Now I can finally play Alderaan as it should be played! |
| "Unidentified Firespray, this is Mauler of Black squadron, reduce speed for visual inspection" |
Time to reload!
Ica
This is amazing. I've been wanting 3D asteroids since we started playing x-wing. This is a fantastic tutorial. Thanks so much!
ReplyDeleteThanks man, don't hesitate if you have questions!
ReplyDeleteFantastic!! What did you use for the undercoat? Anything special?
ReplyDeleteI used GW chaos black primer (can) which is the best I found so far for minis but I guess any matt finish black spray can can do.
ReplyDelete