Wednesday, July 2, 2014

Building the Death Star Trench : Part 1

Who's the more foolish, the fool or the fool who follows him? 

A quick post to show you what I've been working on lately : a table to replay the legendary Death Star Trench run in X-Wing. The idea is to have 2 boards separated by a deep trench to be able to replay the trench approaches, pursuit in the trench and the arrival of He who shot first.

The table will be for my gaming club, the Ludothèque de Boulogne Billancourt, and has to be movable and easy to store, which means a modular design. Each modular piece (4 trench sections and 8 board sections), will have a foam core for lightness and a wood exoskeleton for resilience.

First mock-up of the trench for sizing:


Wood cutting in the living room (Yea for sales season!) :


The first modular sections :


To spice up the table I also ordered a turbolaser turret from Shapeways:


The shape and details are amazing, but I'm slightly worried by the fine lines created by the printing process even in detail plastic which was the best available for this item (edited after Regnirok comment). I will need to fill them or sand them before painting as they will definitely show after an airbrush paintjob.

On a related note, I also got some Eta-2 light fighters from Shapeways:


Sorry for the bad pictures, but it's really hard to photograph translucent models. They are in frosted ultra detail. They have some of the lines issues of the turret in places but less pronounced, we'll see what I can do with them.

Time to reload!
Ica


Tuesday, July 1, 2014

Battle Report : The Tie Swarm versus Echo

Today a quick battle report for my first encounter with the terrible Echo.

I played my usual Tie swarm, an 8 Ties variant, with 4 Academies and 4 Obsidians.
Across the table was :

Echo, veteran instincts, recon officer, advanced cloacking device, fire control system 40
Holwrunner, predator 21
3 Academies 36
97 pts for the PS bid.

Bothanspy decided to take the initiative.

I deployed the asteroids mostly close together in my opponent half of the table to disrupt the holwrunner formation and reduce the decloacking options of Echo.

He deployed his mini swarm in the middle of the board, probably to switch from one side of the table to the other depending on my deployment. I had clear movement lanes so did the same, to see where Echo would go. He deployed Echo on my left, close to the board edge.

First turn:
He went to my right to pass the thicket of asteroids and echo advanced to cloak.
All my ships went as fast as possible toward echo.

Turn 2:
I wanted to maximise my firepower in case Bothanspy made a mistake and advance echo in front of the swarm so I kept going toward Echo (plus is miniswarm was also headed to my right flank).
He decided to change course with echo with a 2 bank to the left then a 4 forward to  switch sides, while the mini-swarm reoriented toward mine.

There I stopped taking picture as the fight was joined. Suffice to say echo flanked me (you can see his moves in green in the turn 5 picture), while I blocked and concentrated fire on holwrunner, then the other ties.
He took down 2 ties, while I destroyed Howl and an academy. 4 dices is nothing to sneeze at, but even with focus against 3 agility you will usually need at least 2 shots. Due to his unique moves he was unable to concentrate fire as much as I did.

At the end of turn 4, I had 6 ties left, with 2 down to one hull and 1 down to 2. He was down to echo, 1 academy on 1 hull and 1 academy on 2.

Turn 5 (before shooting):

I moved my ties to cover echo  most obvious approaches and still keep a couple of guns on his 1 hull academy. He decided to close the range with a 4 forward, but had to go through an asteroid.

Firing first Echo destroyed a damaged fighter while I destroyed the 1 hull fighter and took one shield off echo (asteroid means no focus!!).

Turn 6 (before shooting):
Echo is good at range but not so good in a furball, as he has to move quite a lot to decloak. I jammed as much fighters around him as I could while keeping 3 fighters on his remaining 2 hull tie.

He did manage to decloak but lost his action to a bump and could only target an undamaged tie. With no action, even with 5 dices, he only dealt One damage.
Returning fire, I stripped another shield of him and took another hull off the academy.

Sadly we had to end the game there due to time, with a modified win for me: 45 to 38.

I would probably have stayed in the lead for 1 or 2 more turns as I would probably have killed his academy and he has to destroy 2 of my ties to go retake the lead, but after that, I don't see how I could have killed him (bare poor flying on my opponent part or luck of the dice). With 4 damaged ties it would have been pretty difficult. 4 agi is just hard to take down with 2 attack ships, and that's if you even manage to have him in your sights.

Time to reload!
Ica


Saturday, June 21, 2014

Massive X-Wing miniatures gallery on Hobby before I die

Awesome collection of X-Wing repaints on Hobby before I die!


Tuz from Hobby before I Die has contacted a lot of X-Wing painters for this great hobby showcase and I'm really happy to be in such good company. If you like X-Wing repaints,  go there!

Time to reload,
Ica

Sunday, June 1, 2014

X-Wing : pimp my base!

Why do we play X-Wing?
It's really an excuse to play with toy star fighters, move them around making engine noises and pew pew sounds. We want to have fun recreating the run on the Death Star trench, the Hoth evacuation, or just a simple encounter between two patrols.


The goal of this article is to show you 2 base mods that will increase your enjoyment of the game.

First : the Anti-slippage mod

The idea is to increase the amount of energy necessary to accidentally move a ship.

For this you will need flat weights that fit under a base and silicone sealant. Washers or small coins will do, just try to use non magnetic materials if you've already done or want to do  my asteroid mod. Start by gluing your weights at the center of the bottom base recess then apply a generous layer of silicone on top.

You should get something like this:


Remove the excess using a plastic card or a piece of cardboard then let harden on a piece of baking paper:


After a couple of hours, when the silicone is dry to the touch, remove the base from the baking paper and let harden bottom up for a day or two.

Second : the fun rotation mod

For this you will need small nails, with heads about 2 to 3 mm wide, and ball magnets (3mm diameter). In Europe you can get ball magnets from : Supermagnete a german company.

Cut your nail heads, you will need one per model you want to reposition:


Next drill a 3mm hole in the model you want to reposition about 2/3mm deep where the flight stand plug would be, then a smaller hole at the bottom the size of you nail head.

Nail head not yet pushed in
Glue the nail head in the hole then put a small bead of green stuff on top. Press a wet round brush handle hard on the green stuff to create a bowl shaped depression with nail head showing at the bottom. Let harden an hour.

In the meantime, cut the head of a flight stand, drill a small depression on top and glue your ball magnets in the depression. You should now have something like this:


To finish wet the magnet and press it in the green stuff bowl to improve the shape (we wait an hour to harden the surface of the green stuff and prevent it from sticking to the ball).

Wait for the green stuff to fully cure. You can now represent banks and rolls by really pivoting the model!


If you want to go one step further, you can paint the base as on this model:


Hope this helped.
Time to reload!
Ica

Saturday, May 24, 2014

Showcase : Luke Skywalker Red 5 X-Wing repaint

Arguably the most well known science fiction star fighter of all time, Red 5 was the personal fighter of Luke Skywalker during the battle of Yavin. He used it to destroy the Death Star and save the Rebellion.

The craft is represented here before trench run, with R2D2 still operational.


Notice the ball magnet in the stand to allow full rotation of the model:


If you're interested, 2 WIP shots of the model follow.

First the model after application of the base colors on black primer.
As on the B-Wing, I first airbrush white for the base color, then painted the markings in mephiston red. The yellow nose line was painted in Iyanden darksun and highlighted with Iyanden+white. The cockpit was painted in astronomican grey+black and the canopy received a simple coat of black.

To get closer to the banged up look of the fighter in the movies, I then painted small grey dots using a small piece of foam to get random patterns and give the weathered look.


After that followed the now classic black oil wash.


The wash was removed on the raised/flat areas using a qtip, then I highlighted the grey base with white and I finished the details.


Time to reload!
Ica

Wednesday, May 14, 2014

Battle report : Bomber swarm VS Vador Shuttle & 2 Bounty Hunters

Go big or Go home!


After reading the bomber thread on the fantasy flight games forums, I wanted to try the Tie bomber. I'm a fighter swarm man myself, so I tried to cram as many ships I could into 100pts.

Here's what I got : 5 gamma squadron with seismic charges, 100 pts. My reasoning was : more ships, more firepower, more ordnance at the impact point on the important turn. After that, higher PS means you can see where is your opponent before unleashing said ordnance.

Guess what: no plan survives first contact with the enemy!

Knowing I would be playing a 5 bomber list, my opponent decided to play :
2 Bounty Hunters, Gunner
Omicron Lambda, Darth Vador

I won the initiative and tried to spread the asteroids out. He deployed first and I deployed right across in a 2 deep formation:

We both slow played the first turn, with hostilities starting on turn 2. He focused with all 3 ships, while I target locked the middle Bounty Hunter.


I made a mistake here, I should have banked and concentrated on the shuttle, because as you can see position was ideal for him: the 2 bounties have room for a 1 straight next turn, and I won't be able to use my seismic charges. I locked instead of focusing because I knew I would be able to use the lock the following turn after K-Turning.

He did 3 damages to the top bomber : 2 crits (1 with vader), console fire and thrust control fire, while I removed 3 shields from the middle hunter, keeping 3 locks on him.

As planned I K-Turned behind him, which would have been great against almost any other ships, but was a disaster here. I managed to lower the middle hunter to 3 hull, while the he killed the damaged bomber (who had crashed into the lambda as he was stressed, he was unable to K-Turn) and did 2 additional damages to the top bomber (crit is another console fire!)

Here is the board after turn 3:

At this point, the situation was difficult for both sides.
We had the same number of hull+shield on both sides (30) at the beginning of the game, but due to the way Vador works, he actually lost 11 points to my 8. However, I was down one ship, and my firepower was thus 20% lower.

Disaster! I went too slow, letting the hunter increase the distance to range 2, meaning that I failed to destroy the top hunter, leaving him with 1 hull (choose focus as my actions, failed to roll any eyes).
The hunters on the other hand finished the damaged bomber, leaving the lambda free to crit the lead bomber, taking two damages for Vador : damaged cockpit (twice) and injured pilot .

The board after turn 4:

It was looking pretty grim for Gamma squadron!

He banked 3 the top hunter and hard turned 2 the other, the lambda banked one. On my side, the damaged bomber did 1 straight at PS0 to get an action, while the 2 others leap-frogged it, all three dropped charges on the lambda.
In a stroke of luck, the first bomber took the last hull from the top hunter. While the lambda did its thing, leaving itself and the damaged bomber with 1 hull.

The board after turn 5:

I K-turned the 2 bottom bombers to finish the lambda before it got to fire another force powered shot while the top bomber trailed the hunter.

The board after turn 6:

The rest of the game is less interesting, suffice to say I tried to preserve the damaged bomber from the hunter, failed, and lost another bomber to get the firespray down to one hull.

Here is the board on the last turn:

At some point we entered a turning duel, and I tried to match his radius, taking a 2 hard turn.
I had a 3 dices shot, with no action, to his 2 green dices and evade token for his last hull.

3 Blanks! We had to call the game as I had to leave : Victory for Vader, with 80pts destroyed to my 62 pts.

Even if I ultimatly lost, the bomber is definitely an interesting ship to play, much more resilient than my usual Tie-Fighter, and with lots of ordnance options. Now I want to try missiles and torps!

Time to reload,
Ica 

Sunday, May 11, 2014

X-Wing : Attack of the Sponge Asteroids

Do you feel that asteroids in X-Wing are too two dimensional?
Do you keep K-Turning X-Wings on asteroids?
Then this tutorial is for you:

Attack of the Sponge Asteroids!


I've been wanting to make 3D asteroids for a while now and I finally took the time to do it using Jokerounet tutorial on sw-xwing.com

The asteroids had to be playable in a tournament, thus the shapes had to be the official shapes, the rocks had to be removable to place models on top of the asteroids and finally either faces had to be usable.

Here's what you need:

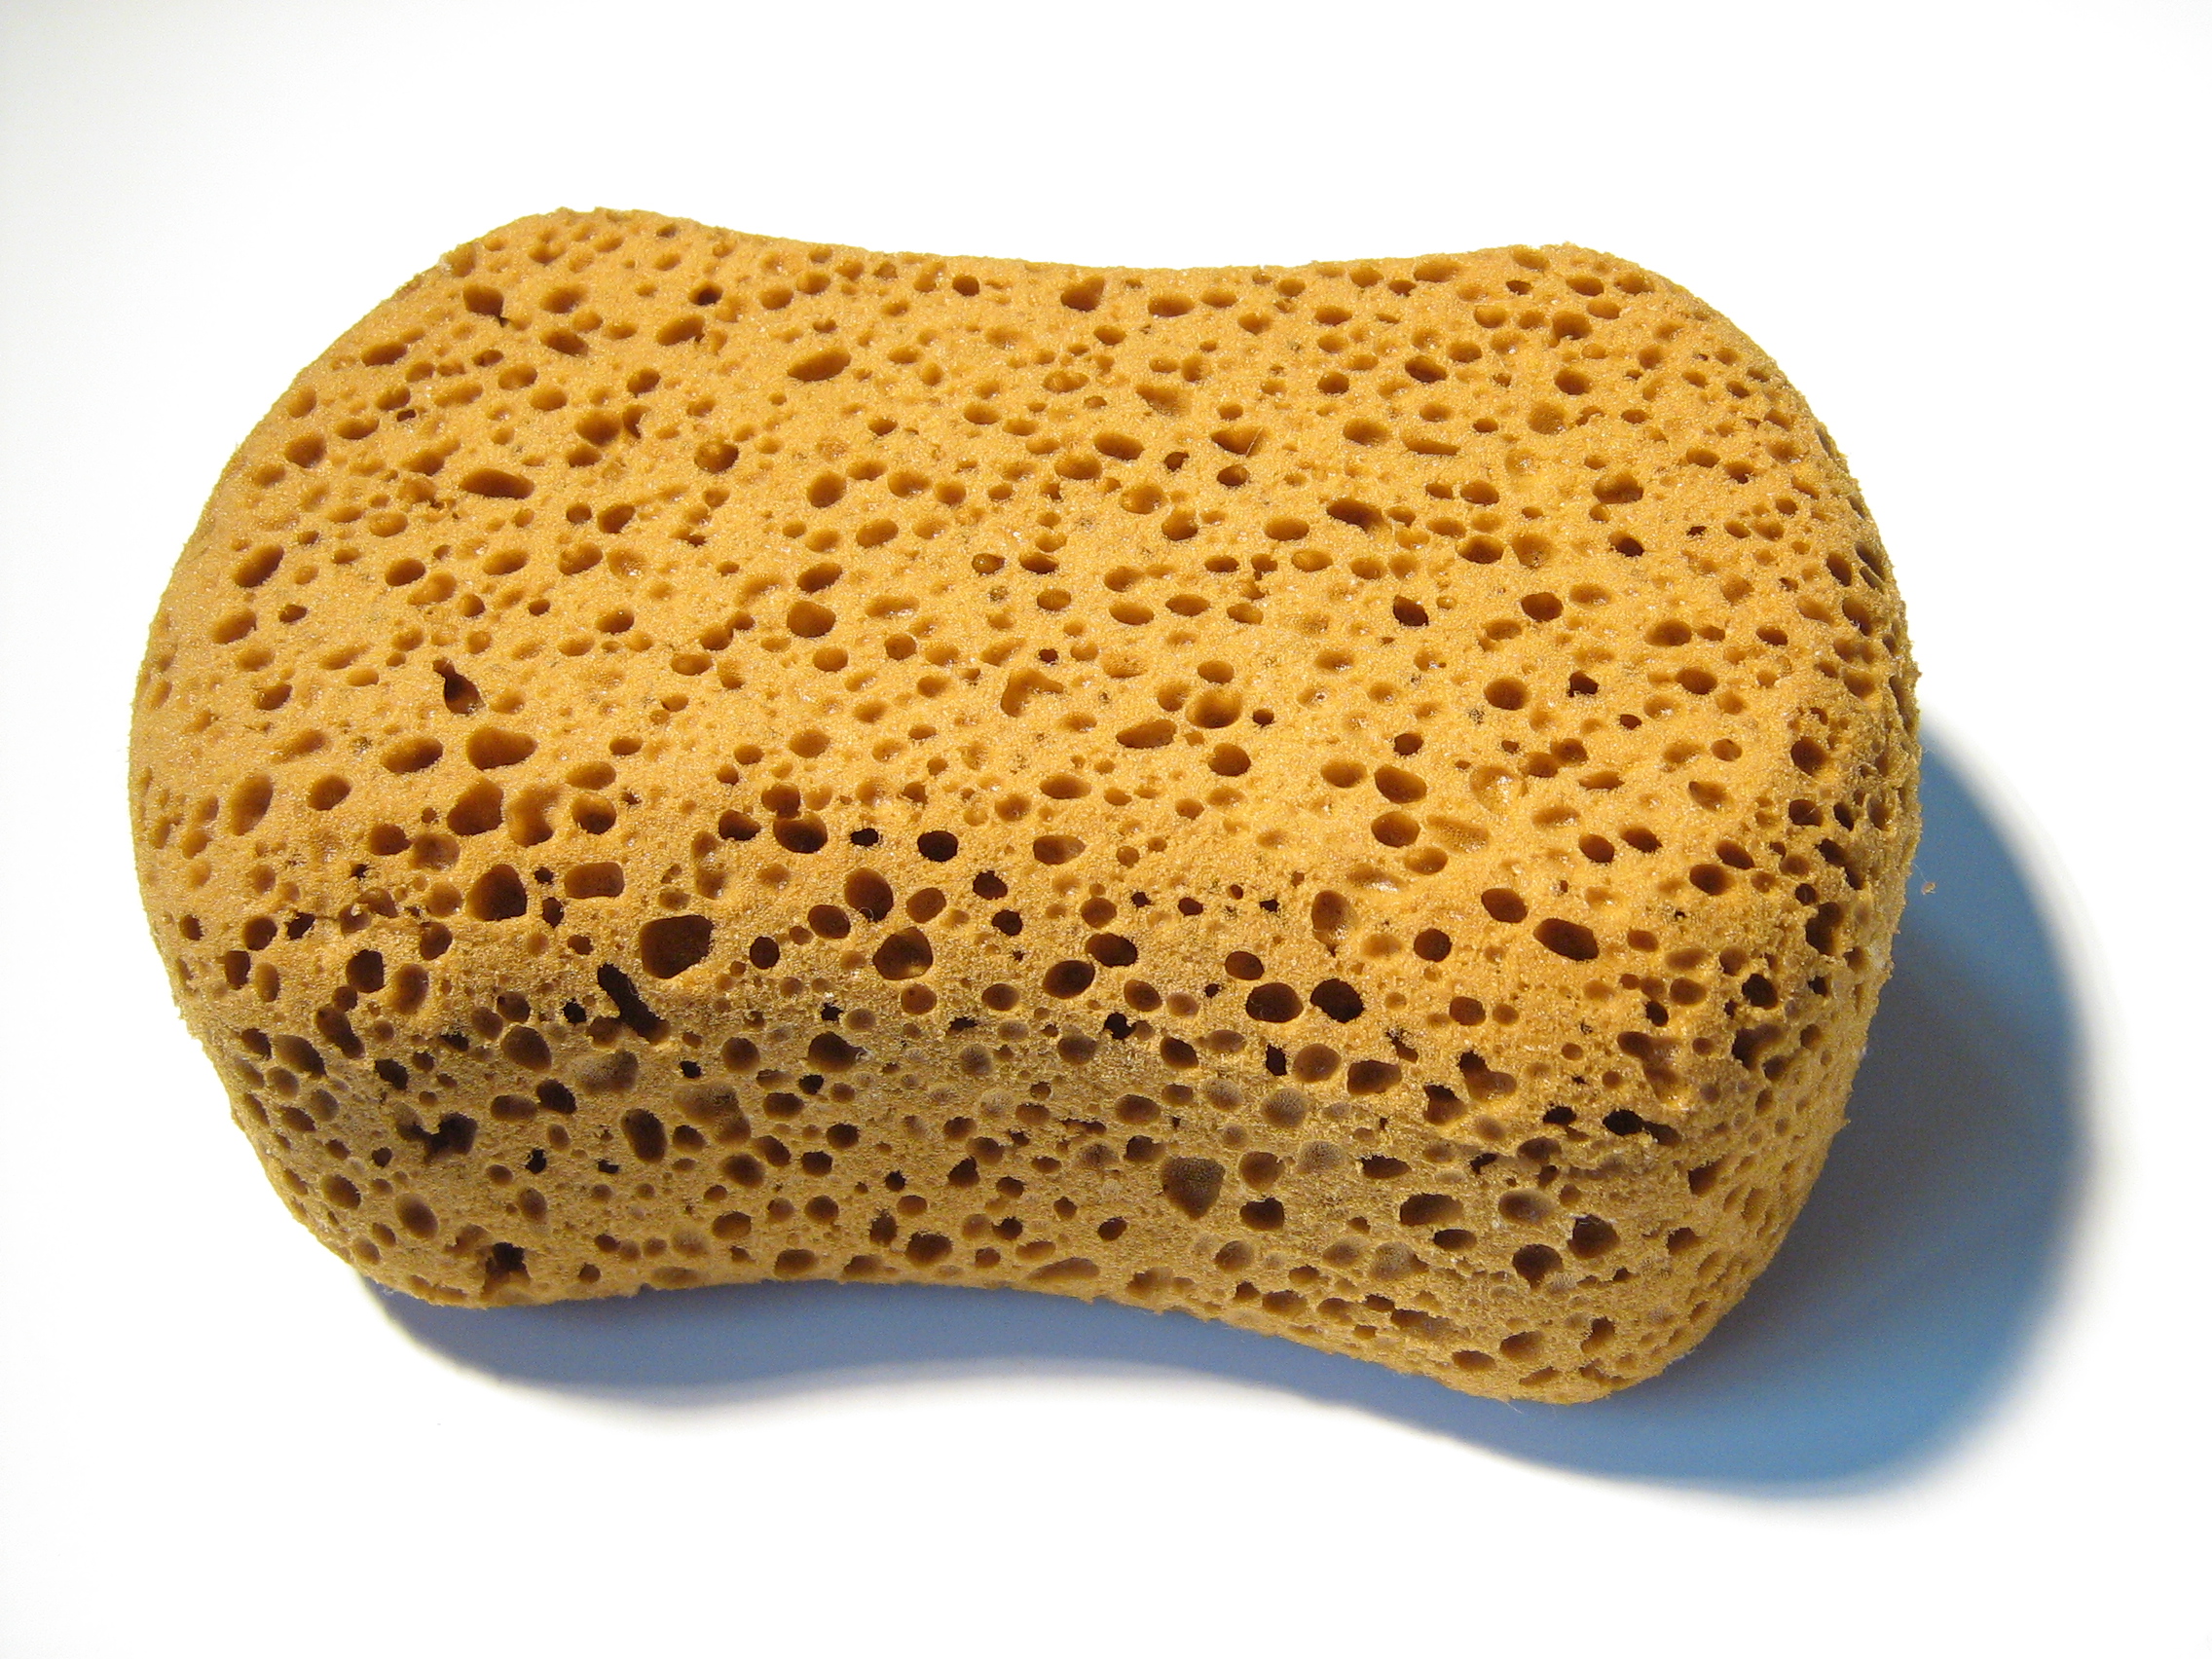
- One large or several smaller sponges:
- 6, 1 cent euro coins (or similar metallic pieces if you can find cheaper)
- 6, 5*2mm magnets
- the cardboard asteroids from the starter box
- 3mm rod (I used aluminium knitting needles)

First start by drilling a 5mm hole in the center of all cardboard asteroids and glue a magnet inside.
Then drill a 3mm hole in your coins and glue a length of rod on one side. I went with various lengths between 4 and 6 cm to increase the visual impact.


Next comes the fun part: take your sponge apart, tearing large chunks about 5cm on a side and glue those on top of the rods opposite of the coin. If your using small sponges you can bulk your asteroids as I did by gluing several chunks to a rod spaced by pins or more rods. After gluing coat everything with a generous sprayed undercoat:


I said coat everything! We're going to need that undercoat for the next step.


Take out the airbrush, load with thinned white and spray the asteroids randomly.


Now you can either stop here, with pretty nice asteroids on black bases, or, once more inspired by Rodent Master, you can go the extra mile.


To achieve the radar display look, paint in white a couple of concentric circles by rotating the the base around the magnet. Then paint the 8 intersecting lines. Go back with a black brush to correct your mistakes.

Using masking tape, mask part of the asteroid in order to draw a line between the center and the edge. Mask the center of the asteroid to get something like this:
Afterthought picture using a finished base to reproduce the masking pattern. 
Spray white paint starting at the mask and fading going counter-clockwise, so that the white is brighter close to the mask and fades to the black undercoat on the opposite side.

Finish by tinting the grey/white of the asteroids with your ink of choice.


Now I can finally play Alderaan as it should be played!

"Unidentified Firespray, this is Mauler of Black squadron, reduce speed for visual inspection"

Time to reload!
Ica